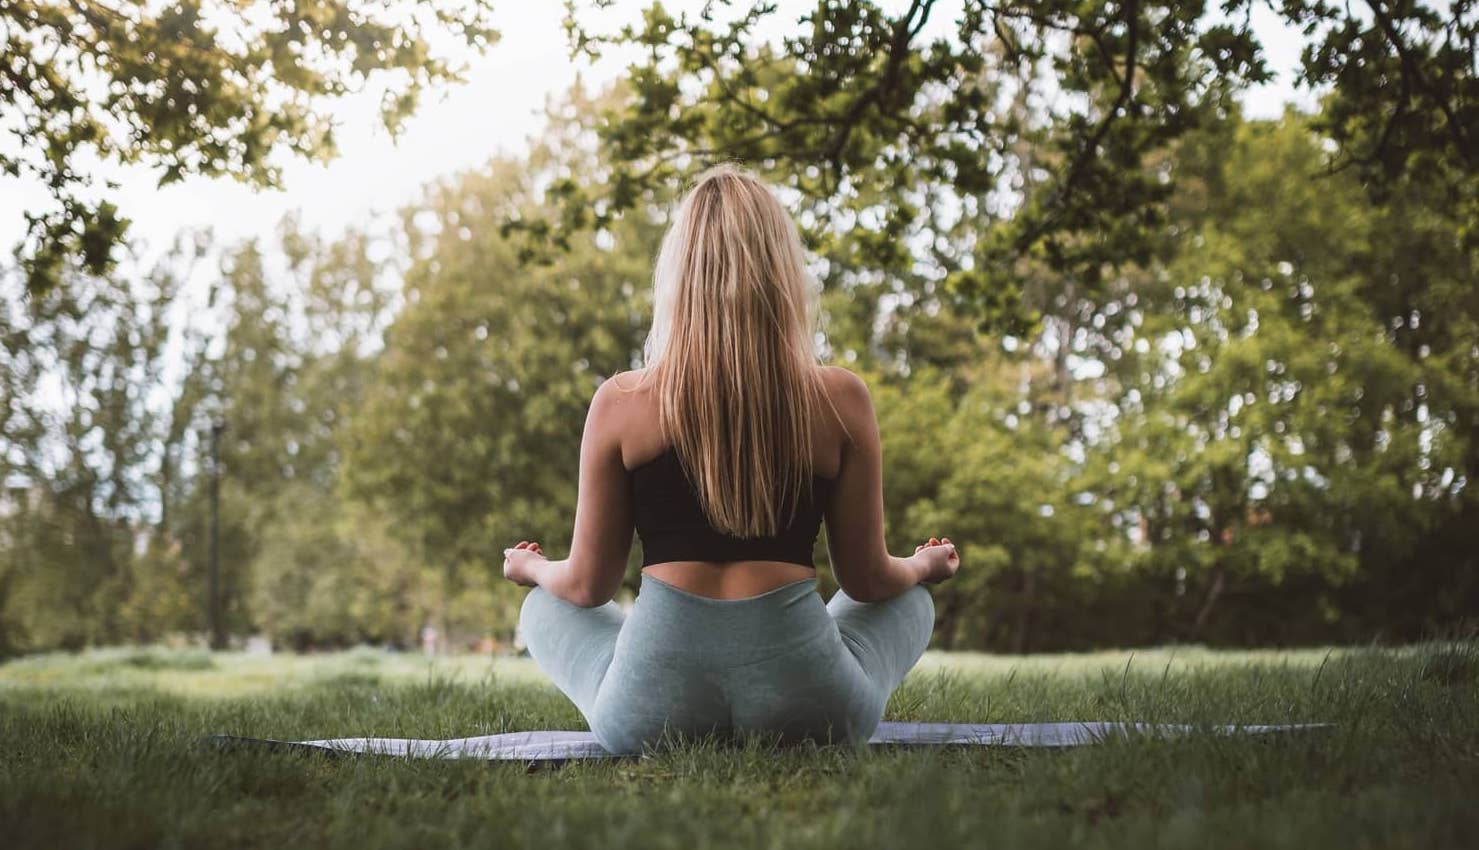
While working with cyclists attending the Sports Surgery Clinic for physiotherapy: purists, adventure racers, triathletes, and spinners, I gained a valuable insight into the key trouble spots affecting performance. Cycling most of the circumference of Ireland recently with Cycle Against Suicide I know I felt some of these along the way:
- Stiff necks and upper trapezius muscle tightness
- Mid back restrictions
- Incorrect use of breathing control
- Glut and hamstring weakness
- Hip flexor tightness
- Core weakness
- Great quadriceps strength to be fair!
Many patients’ spent valuable money getting one or two areas treated at a time, continuously performing rehabilitation exercises at home. Sports Yoga for Cyclists was developed by a Chartered Physiotherapist, Orla Crosse at Performance Yoga Ireland and has the potential correct these restrictions allowing you to gain the edge on your competitors and essentially become more aerodynamic on the bike. It also reduces your physio bills!
Performance Yoga addresses posture on and off bike position, air squat, lunges, breathing correctly, and some basic movement patterns that we’ve all forgotten or never been taught to do correctly – ironing out faulty movement patterns.
We spend so much on our bikes to make them aerodynamic, however not as much on our body’s mobility to help you become one with the bike and as aerodynamic as possible.

Cyclists take their strength and conditioning seriously and supplementing with Sports Yoga makes sense to anyone who understands the physical demands of the sport. I’ll leave you with this basic air squat instruction, give it a try and see how it compares to how you normally squat, essential for power output on a bike. There’s more to it than you’d think.
AIR SQUAT
Step 1: Get organized
The key to executing a perfect squat is to start in a good position. This means bracing your spine in a neutral position and creating torque (stability) by screwing your feet into the ground.
To begin, establish your squat stance with your feet just outside your shoulders with your feet straight – or turned out 10deg max – and your weight over the centre of your feet or just in front of your ankles. Note, the straighter your foot position, the more torque you can create. And the more torque you can create, the easier it is to maintain good position as you descend into the squat.
Next, squeeze your glutes as hard as you can, align your ribcage over your pelvis, and then lock in the position by engaging your abs. Keeping your belly tight, screw your feet into the ground as if you were trying to spread the floor. To be more specific, screw your right foot into the ground in a clockwise direction and screw your left foot into the ground in an anti-clockwise direction.
Finally, align your ears over your shoulders and look forward to maintain a neutral head position. As you do this, set your shoulders in a stable position and gently tighten your upper back by lifting your arms to chest level, pulling your shoulders back, and facing your palms towards each other.
Step 2: Load your hips and hamstrings
Keeping your back flat, reach your hamstrings back, drive your knees out to the side, and start lowering into the bottom position. Note: I say, hamstrings back because the drive your hips back cue can cause people to overextend at their lower spine. In addition, focus on keeping your shins as vertical as possible. This allows you to channel your weight and power into your hips and hamstrings, which are the muscles designed to handle the load. If your knees translate forward, you’ll lose power from your posterior chain and increase the shear (twisting) forces to the soft tissues within in the joint (patellar tendon, ACL)
Step 3: Pull yourself into the bottom of the squat
Most people have no trouble bracing their spine in a neutral position and hinging from the hips. Lowering into the bottom of the squat, on the other hand, is where things start to fall apart. This is where the invisible becomes visible. If you’re missing range of motion or you don’t have the motor control to perform the movement, this step in the sequence will illuminate your weaknesses.
As you lower into the bottom position, continue to screw your feet into the ground and drive your knees out – keeping your back flat, belly tight, and shins vertical. To maximize tension in your hips and hamstrings, think about pulling yourself into the bottom position instead of dropping into the bottom position. The goal is to drop your hip crease below your knee crease.
It’s important to note that if you can’t descend into the bottom of the squat with proper form, you should reduce the depth of the squat. The last thing you want to do is ingrain a poor movement patterns for the sake of performing the full range movement. It’s a simple rule: Don’t sacrifice form for range.
With that being said, every healthy human being should be able to perform a butt-to-ankle squat. Kids can do it no problem!
Step 4: Drive out of the bottom position
Rise out of the bottom position the same way you lowered into the squat: with your trunk braced, your back flat, your knees out, and your shoulders and upper back tight.
Step 5: Re-establish the top position
As you stand up, reestablish the top position by squeezing your butt. Remember this sequence and practice it every time you squat.
Who would have thought it was that complex. I simply this in class but I will educate you on how to perform the best possible movements for your body in return for your thanks for helping you to become stronger and faster!